No Man’s Sky: How to use Photo Mode in the new Worlds update
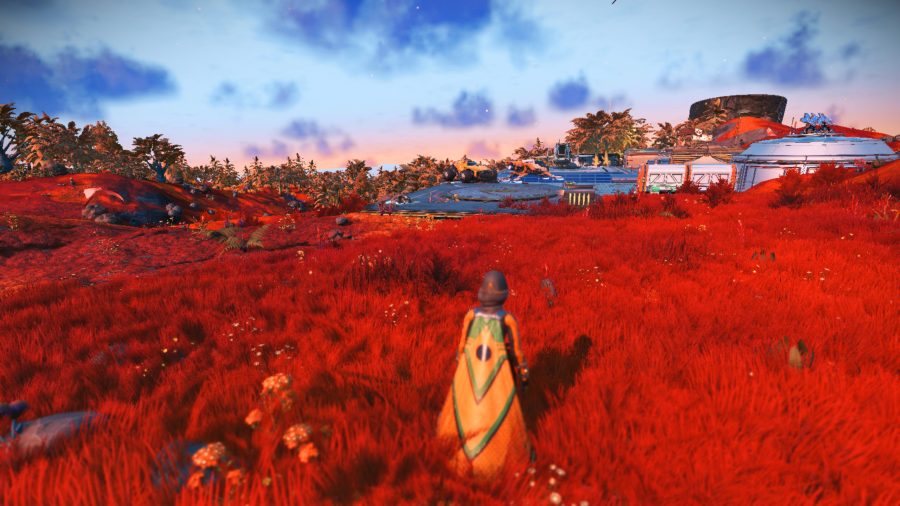
With the new Worlds Part 1 update for No Man’s Sky, this beautiful space sim just got even more lovely to look at. NMS has always been able to generate great screenshots for your PC wallpapers, or even just to share around, but now, with all the improvements to the look of the game, it’s just got even more important that you know how to use No Man’s Sky’s Photo Mode properly.
So if you have never dabbled before, or just need a refresher on how to to pull off great screenshots, look no further.
How to use Photo Mode in NMSWe didn’t get a Photo Mode in No Man’s Sky until we got the Pathfinder update in March 2017, but immediately it became clear that we could take some spectacular images with a little imagination using the tools that Hello Games had given us.
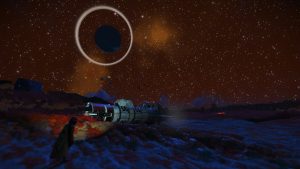
Photo Mode allows the game to pause while you move the camera around to get the optimum position for your shot. You can also change the time of day of the shot so you can capture Golden Hour or even the stars and moons in the sky.
You also have the option to add a Portal Address to the screenshot to identify later what planet it was taken on. Note though if you use the Photo Mode to actually take the image here you won’t get the Portal Address on it, you need to use your normal screen capture for this which is obviously a weird buggy, oversight.
To enter Photo Mode bring up the quick menu (X on PC) and select the camera. This will pause the game and bring up a control box.
From here you can switch between two tabs – Scene and Lens
Scene TabFrom here you can change the following aspects of your scene.
- Time of Day
- Fog Density
- Cloud Level (surface only)
- Vignette
- Bloom
- Screen Filter
Switching to the Lens tab gives access to the following controls
- Field of View
- Depth of Field
- Focal Point
- Focal Range
By playing around with all of these controls you should be able to get the perfect look for your shot. You can also move the camera around (and quite a large distance away from your subject) and alter the tilt for that extra arty shot.
Applying a filterIf you have ever used Instagram or just about any Photo app you will know how much a filter can change your shot. No Man’s Sky comes with 24 filters that can be applied, some are better than others but flick through them all to find your favorite.
Here are a few of our faves:
- Default
- Pikisi
- Phono
- Revisti
- Vintage
Feel free to tag us in your best screenshots on X.
The post No Man’s Sky: How to use Photo Mode in the new Worlds update appeared first on ReadWrite.