Acmer’s P3 takes home laser engraving and cutting to the next level – we are making the flight sim cockpit of our dreams with one
It’s long been our intention here at Readwrite Gaming to build our own flight simulator cockpit, carefully crafting our panels so we can really immerse ourselves into the likes of DCS World. To do so, though we are going to need some cool gear to have a chance of making it look half decent, so when Acmer reached out asking if we would like to review their new P3 enclosed laser engraver and cutter, the chance to tie everything together arrived.
For the project, we need to cut a fair amount of acrylic and then engrave panel legends on them – we will worry about the electronics side with all the Arduinos further down the line.
We want to cut panels for DCS World’s A10 Warthog and thankfully YouTube channel The Warthog Project has already done all the hard work in terms of design, and gives his files away for free too. Happy days. All we needed is the equipment and this is where the Acmer P3 comes in.
Arriving in a huge box, the P3’s best initial feature is that it comes pretty much pre-assembled. It just pops out ready assembled, and all you need to connect up is the laser unit that comes with it (you can choose from several different models, including a very clever one, more of which later, undo a couple of safety bolts.
The Acmer P3 comes with a micro SD card and adapter, which contains, among other things, the setup files for Lightburn. It is as simple as importing the machine and choosing your model of laser from there.
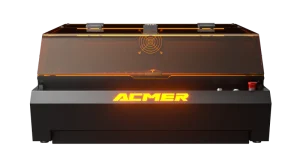
The Acmer P3The Acmer P3 boasts the world’s first dual diode and IR laser for a gantry machine and the CoreXY technology, like when we see it on a 3D printer such as the Centauri Carbon from Elegoo allows such quick movement of the laser carriage. This takes a little getting used to as it spits fire from the laser head at rapid speeds, but Acmer kindly supplies suggested speeds and powers for most common materials you would want to cut in the box with each laser module
The machine itself is super sturdy with the honeycomb and crumb tray built into a sliding drawer. The work area of 400x390mm is also more than large enough for anything most people are ever going to need.
Built in safety features are just what you would need as well. Besides the hood, you also get safety glasses, a big red emergency stop button, and a key that needs ot be present to operate the laser.
Also, there is a switch on the side of the hood which activates if you open the top while the laser is operating. This cuts all power to the laser, keeping whoever was stupid enough to open it safe. Close the lid and the job resumes. Nice.
For cutting jobs, the P3 comes with an external air assist that conveniently uses the machine’s power. It plugs into the frame with both a power plug and an air hose, and then the other end of the air hose is attached to the laser module. It is then activated within Lightburn’s setting so you can fire it when cutting but not bother with it when doing an engraving job.
The lasers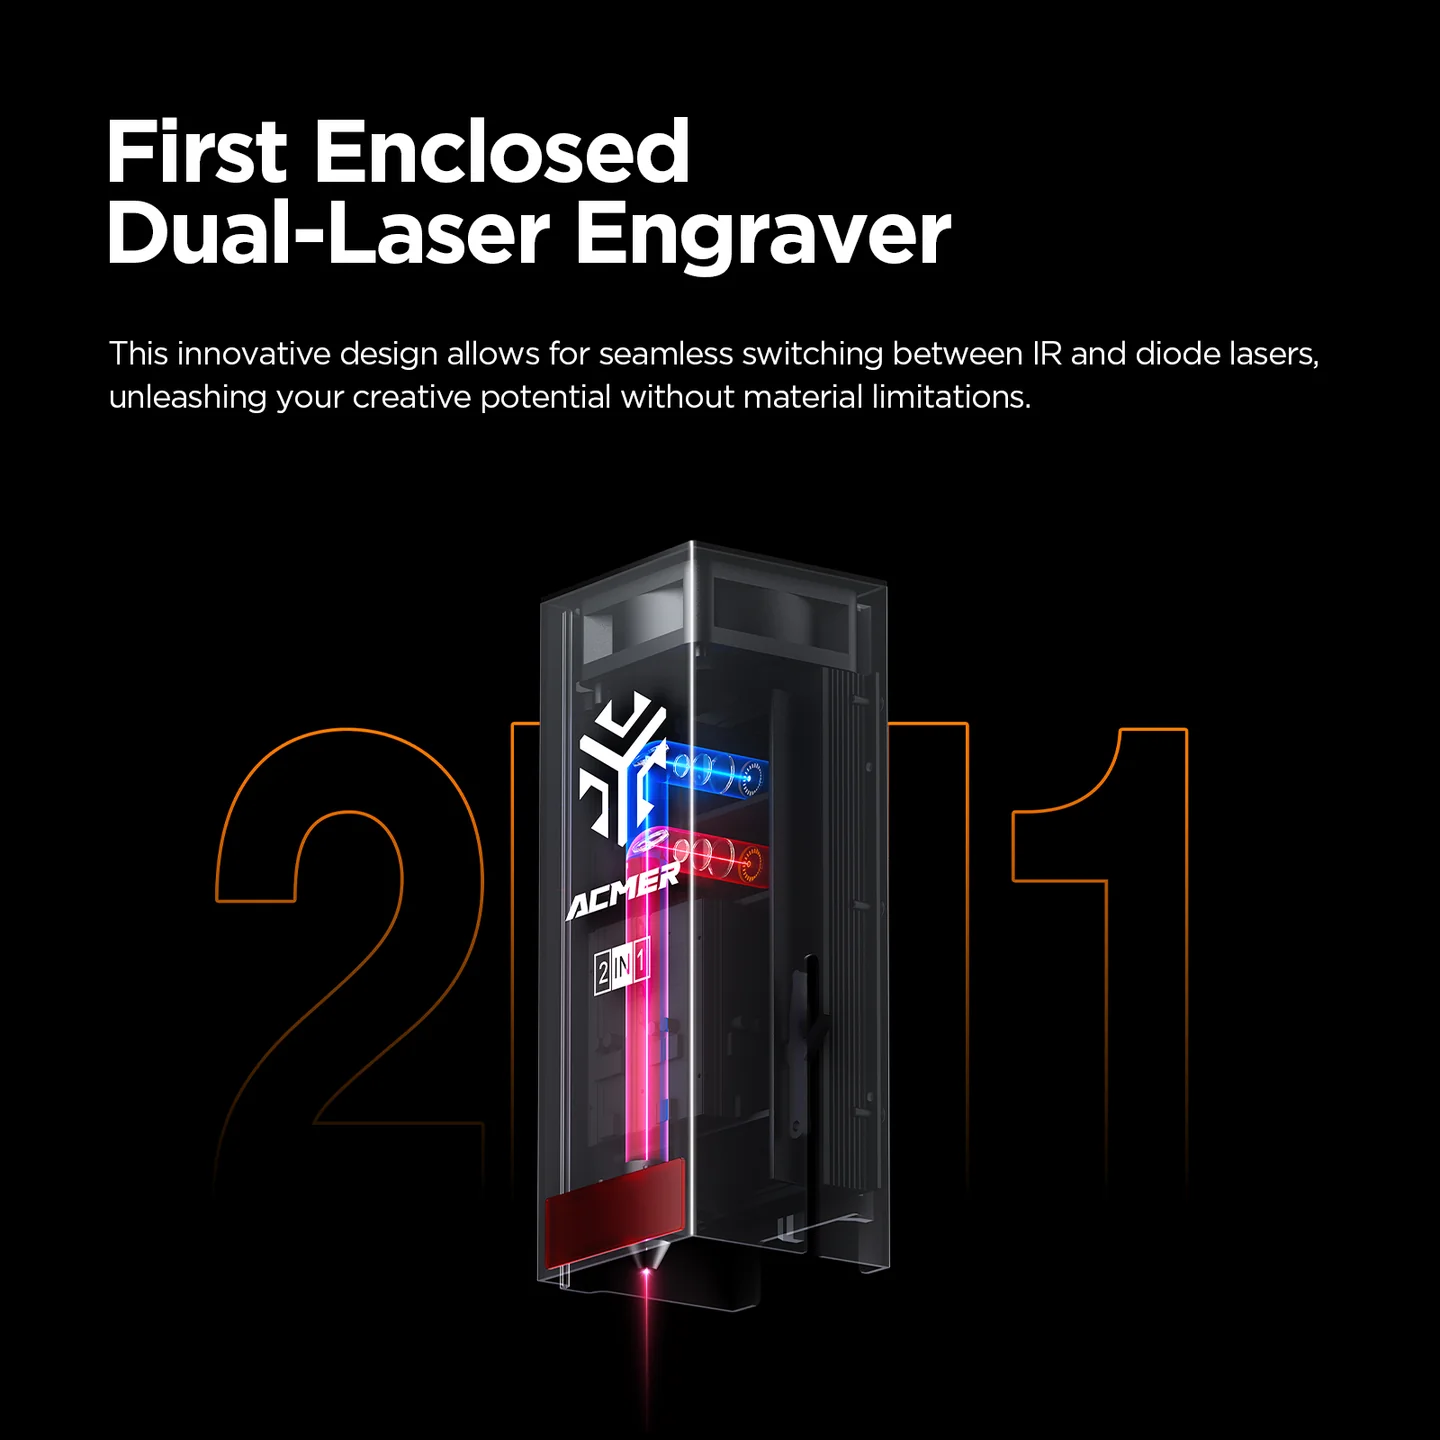
Acmer sells several different laser units, and depending on the intended purpose, you will decide which you want. The units are:
- 48W/24W diode – Suitable for cutting and rough engraving – This can be switched between full and half power to achieve a better engrave
- 24W diode – for precise engraving and faster cutting
- 2-In-1 – 10W diode and 2W IR – a great alrounder. Will cut thin materials and do some nice engraving, but switch it into IR mode, and you can also engrave on materials diode lasers cannot, such as metals and (laser suitable) leathers.
- 2W IR – Suitable for metal/glass etc
Acmer supplied both the 48W and the 2-in-1 laser modules which allowed us to cover off pretty much everything in this review.
It’s worth noting that the P3 itself does not come with a power brick, that comes alongside the laser module.
We did freak out slightly after using the 2-in-1 for a while, and then deciding to try out the more powerful James Bond-esque 48W, but didn’t change the provided PSU, and the machine just shut down. That’s when we realized the 38W’s PSU is much more powerful than the 2-in-1’s. Thankfully no harm was done, we just swapped out the power brick and everything was normal once more. Big beams need much more juice.
The cameraWhere the Acmer P3 differs from other laser engravers I have used previously, this one has a built-in HD camera in the enclosure’s hood that connects to Lightburn and makes framing your cuts an absolute breeze. It takes a relatively lengthy alignment process out of the box, but once done, you can literally see where you are going to engrave by placing the lines and cuts directly over the material on the bed. It’s a huge time-saving boon
The downside of a diode laserAs we say, for our project we need to cut a heap of acrylic of which 2in1 or the 48W laser can both do – to a point. Because of, well, science stuff, the laser light passes straight through things such as clear acrylic and won’t even cut white acrylic, leaving us able to cut and engrave, and easily, to be fair, black acrylic.
With that in mind, it does give us a few extra steps. We could happily engrave the black material, but this would leave us with grey text and we want white so we first painted the cut piece with white primer, and then overlaid two coats of matte black. Then, when engraving the text instead of the laser engraving in the acrylic, it merely removes the black paint leaving the white beneath for a wonderful effect. We were very happy with the effect as you can see from this example piece.
Acmer also sells a wonderful air purifying unit which takes the exhaust from the enclosure and fires what comes out of it through several stages of filtration. We literally could smell nothing, no smoke, burning, or anything when it was turned on – a marked difference from when we briefly tried it without it connected.
Various rotary engraver tools can also be purchased if you wish to add the ability to engrave glasses, water bottles, and the likes.
Cutting and engraving prowessThe ease of use of everything up to this point is what makes the Acmer P3 a joy to use. And when it first bursts into action, and everything is as good as what has gone before it, you can’t help but be pleased. Even the 2-in-1-laser sliced through 3mm black acrylic in a single pass. Engraving it went just as smoothly.
Switching to the IR laser, we could engrave leather coasters, stainless steel dog tags, glass and ceramic tiles effortlessly, meaning you can spend more time on designing what you want to work on and less setting everything up.
The option of the dual laser module opens up so much when it comes to being able to cover off so many workable materials and not need a separate machine for each one and the fact that getting your design onto the material is so simple saves time and effort, and that is surely what we all want to do.
Acmer P3 features:- One laser module for engraving almost all materials
- Desktop laser machine for home and small workshop
- Spacious working area lets you finish a group of crafts with one setting
- Up to 800mm/s engraving speed to boost your business in holiday season
- COREXY structure industrial guide rails end with result in precise under high speed
Compatible with M4 rotary module (release the limitation for engraving the objects with round and spherical shape) - Compatible ACMER APP, Lightburn, Laser GRBL
Much in the way we have seen 3D printers moving from complex hobbyist only machines into the realism of just buying something, taking it out of the box and getting going, the Acmer P3 is doing the same for this related technology. Having a reliable 3D printer and laser engraver/cutter in my workspace opens up so many options for getting one with that perfect side hustle. You have very few excuses now. Even selling flight sim panels on Etsy is a thing with people making thousands of dollars – you just need the gear – and the Acmer P3 should be part of that gear.
You can pick up the P3 with 2-in-1 laser at the moment for a little over $1000 from Acmer’s website. This is comparable with high-end hobby level 3D printers such as those from Bambu.
Besides easily integrating into Lightburn and the open-source Laser GRBL, if you have an Android device you can also use Acmer’s app. We stuck with Lighburn because it is the de facto standard for this tech and everything was totally seamless. Which is all you can ever really ask from a piece of tech.
The Acmer P3 comes highly recommended if you are in the market for such a device. It is far and away the best device on the market for this kind of money at the moment and we can’t wait to see what they do next.
The post Acmer’s P3 takes home laser engraving and cutting to the next level – we are making the flight sim cockpit of our dreams with one appeared first on ReadWrite.